Inspection
Inspection
Strict Inspection Standards
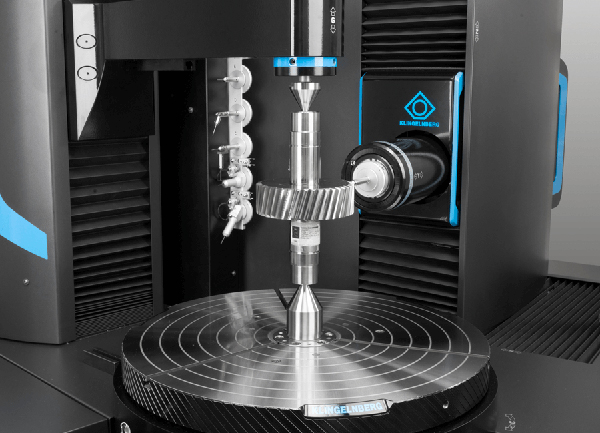
In Michigan, we manufacture high-quality gears that meet industry standards and customer needs. Our production process includes advanced testing to ensure each gear meets our standards. Our inspection team consists of 11 experienced technicians to test the internal structure of raw materials, gear precision, bevel gear scraping precision and other factors. Trust Michigan for reliable and durable gear.

Inspection Content
- ◼ Ring gear runout
- ◼ Axis angle deviation
- ◼ Tangential synthesis error
- ◼ 1st tangential synthesis error
- ◼ Comprehensive error of shaft angle
- ◼ Comprehensive error of 1st shaft angle
- ◼ Cumulative error of tooth pitch
- ◼ Cumulative error of K tooth pitch
- ◼ Tooth pitch deviation
- ◼ Relative error of tooth profile
- ◼ Tooth thickness deviation
- ◼ Installation test
- ◼ Contact spots
- ◼ Backlash tolerance
- ◼ Backlash variation
- ◼ Axial displacement
- ◼ Period error
- ◼ Surface hardness
- ◼ Axis distance deviation
- ◼ Tangential comprehensive error
- ◼ Comprehensive error of shaft angle
- ◼ Tooth frequency period error
- ◼ Metallographic inspection
- ◼ Comprehensive error of shaft angle of 1st gear
Inspection Equipment
| Universal Inspection Tools | Coordinate Measuring Machine | Projector | Deflection instrument | Profile meter |
| Gear Measurement Center | Roughness Tester | Pneumatic measuring instruments | ||
| Functional Inspection Tools | Engagement meter | Non-Destructive Flaw Detector | Metallographic microscope |